
Setup Jenkins on Ubuntu AWS EC2 Machine

In this article, we will install Jenkins on the Ec2 ubuntu machine.
1. Create an EC2 instance on AWS
2. Connect with the Ec2 instance via SSH
3. Install JDK on AWS EC2 Instance
The next requirement is we need to install JAVA(JDK) on the EC2 instance.
In the previous step we have seen how to connect and ssh into the EC2 instance.
Now before we do the JDK installation lets first update the package manager of the virtual machine -
sudo apt-get updateCheck if you have java already installed onto your EC2 machine by running the following command -
java -version
In case if you do not have java installed then you will see the following message -
Command 'java' not found, but can be installed with:sudo apt install openjdk-11-jre-headless  # version 11.0.11+9-0ubuntu2~20.04, or
sudo apt install default-jre              # version 2:1.11-72
sudo apt install openjdk-13-jre-headless  # version 13.0.7+5-0ubuntu1~20.04
sudo apt install openjdk-16-jre-headless  # version 16.0.1+9-1~20.04
sudo apt install openjdk-8-jre-headless   # version 8u292-b10-0ubuntu1~20.04
sudo apt install openjdk-14-jre-headless  # version 14.0.2+12-1~20.04
But you can install java by running the following command
sudo apt install openjdk-11-jre-headless
If you see the following message then you have installed java successfully -
openjdk version "11.0.11" 2021-04-20
OpenJDK Runtime Environment (build 11.0.11+9-Ubuntu-0ubuntu2.20.04)
OpenJDK 64-Bit Server VM (build 11.0.11+9-Ubuntu-0ubuntu2.20.04, mixed mode, sharing)
4. Install and Setup Jenkins
The next step would be to install the Jenkins. You can follow the official Jenkins Installation guide also. But here I have listed down the steps for installing the Jenkins on the EC2 instance.
First, we need to add the Jenkins repository to the package manager -
wget -q -O - https://pkg.jenkins.io/debian-stable/jenkins.io.key | sudo apt-key add -sudo sh -c 'echo deb https://pkg.jenkins.io/debian-stable binary/ > /etc/apt/sources.list.d/jenkins.list'After adding the repository link of Jenkins update the package manager
sudo apt-get updateThen finally install Jenkins using the following command
sudo apt-get install jenkins
On successful installation, you should see Active Status
sudo service jenkins status● jenkins.service - LSB: Start Jenkins at boot time
     Loaded: loaded (/etc/init.d/jenkins; generated)
     Active: active (exited) since Tue 2021-06-22 20:31:18 UTC; 37s ago
       Docs: man:systemd-sysv-generator(8)
    Process: 16297 ExecStart=/etc/init.d/jenkins start (code=exited, status=0/SUCCESS)
4.1 Setup jenkins
After installing jenkins lets go back to AWS dashboard -> EC2 -> Instances(running)
Click on the instance ID as mentioned in the above image.
Now we need to find the public IP address of the EC2 machine so that we can access the Jenkins.
Once you click on the instance ID you should see the following page with lots of information about the EC2 instance.
We need to look for Public IPv4 address
Alright now we know the public IP address of the EC2 machine, so now we can access the Jenkins from the browser using the public IP address followed by the port 8080
If you are installing the Jenkins for the first time then you need to supply the initialAdminPassword and you can obtain it from -
sudo cat /var/lib/jenkins/secrets/initialAdminPassword
Copy the password and paste it into the initial page of the Jenkins. After that, Jenkins will prompt you for installing the plugins.
Opt for install suggested plugin -
After completing the installation of the suggested plugin you need to set the First Admin User for Jenkins
Also, check the instance configuration because it will be used for accessing the Jenkins
And now your Jenkins is ready for use
4.2 Setup Gradle
In this lab session, we will be using the Spring Boot Application, so we need to use a build tool for compilation and building the JAR file and for that, we will be using Gradle as the preferred tool.
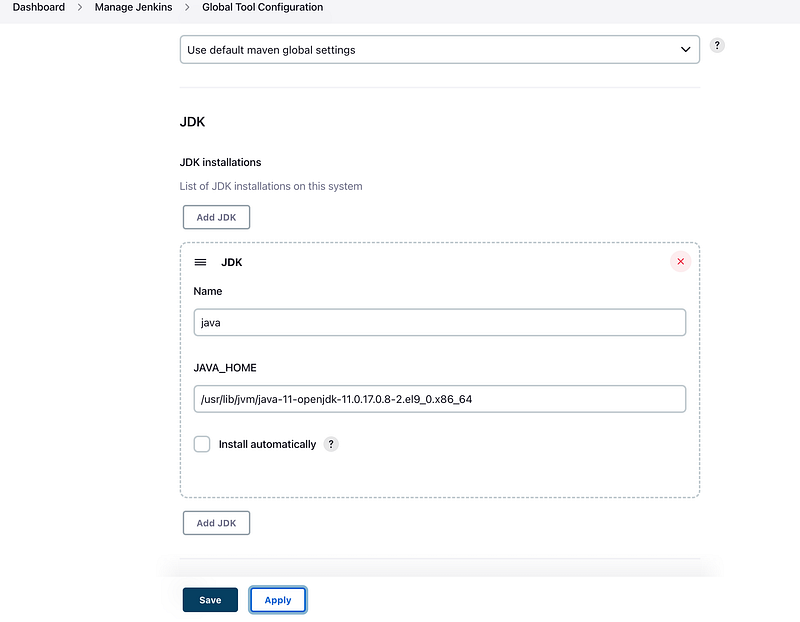
For setting up the gradle Goto -> Manage Jenkins -> Global Tool Configuration -> Gradle
After adding this, you are done.